
🚀 Don't Miss This Important Resource! Our Advance Collection Of AI Tools
Explore All Tools Now !Image resizing sometimes results in blurry, distorted graphics; here are five ways to clean them up.
Web designers frequently resize images to optimize page load speeds, accommodate various web layouts, and match a site’s aesthetics. While it’s a seemingly simple task, image resizing can be frustratingly tricky and might result in distorted graphics. Avoid this and other common issues by learning how to resize an image without losing quality.
Why preserving image quality matters
When you resize an image, you expand or contract the pixels in the original to meet the new dimensions you’ve set. If you enlarge an image significantly, you’ll notice it looks blurry — that’s because you can see each pixel that makes up the image. Shrinking an image doesn’t tend to reduce image quality, but it can make for unnecessarily large file sizes for small images like thumbnails and icons.
Getting your file sizes and resolution just right often makes a significant difference in your graphics’ appearance and web page load speeds. When a page has many large files, the browser spends more time rendering them. But if you optimize your images for small file sizes and crisp visuals, your website will load faster and look great, too.
ALSO READ: How to Make Images Look Professional for Websites
5 tips for resizing images
Here are five of the best ways you can resize images without losing their quality.
1. Use high-resolution original images
The best way to ensure your image maintains maximum quality when you enlarge or reduce its dimensions is to start with a high-quality image that can withstand some degradation. That’s because the resampling algorithms that editing tools use rely on patterns they can enlarge or reduce as needed. Those patterns are more prevalent in high-resolution graphics with more pixels.
2. Use professional image editing software
Professional image editing tools leverage the best features the industry has to offer. With professional-grade tools like Photoshop, you gain access to advanced resampling techniques and a wider selection of format options that make all the difference when resizing an image.
3. Select the right file format
Knowing which file format to export your finished image in is crucial, because each format has different strengths and shortcomings.
For example, JPEG is excellent at reducing image size, but its lossy compression creates blurry images. It’s better to choose PNG to resize graphics at the cost of slightly larger file sizes. Better yet, use WebP images, which are quickly becoming the industry standard thanks to their small file sizes and lossless compression. For logos and vector art, SVG is best because you can scale it to any size without losing quality.
4. Try cropping
If there’s room to crop an image without resizing its width and height, that’s where you should start. Cropping simply slices off parts without enlarging or reducing the remaining pixels, so you don’t need to worry about distortion or blurriness. But pay close attention to your aspect ratio, as cropping will change it. If the element you drop the resized image into doesn’t match the image’s aspect ratio, it’ll look distorted as it stretches to fit.
5. Use resampling
Resampling adds or removes pixels as you resize images, to optimize the resolution at the dimensions you set.
For example, scaling an image from 1200 x 1200 pixels to 1600 x 1600 pixels would stretch the 1,440,000 pixels to fit onto a canvas that’s 1600 x 1600 pixels, but the resolution wouldn’t change. Instead, resampling tries to add 1,120,000 pixels to the image to make it fill the 1600 x 1600 pixels in dimension.
Many resampling techniques are available, and you generally select them from an image editing tool menu while resizing an image.
Ultimate web design
From 101 to advanced, learn how to build sites in Webflow with over 100 lessons — including the basics of HTML and CSS.
Start course
Upsampling vs. downsampling
There are two types of resampling you can use to manipulate pixels while resizing an image:
- Upsampling adds pixels to an image to increase its resolution. It’s common for increasing an image’s size so it doesn’t look distorted when scaled up for larger monitors.
- Downsampling removes pixels to reduce an image’s resolution. It’s popular for decreasing file sizes for faster loading on a web page or in an application.
Both resampling types “sample” pieces of an image to detect patterns within them. They then insert possible expansions or simplifications of those patterns, hence the name “resampling.”
Once those patterns are recognizable, resampling can add additional pixels to expand images or remove pixels to simplify them. As you might imagine, AI is increasingly involved in resampling because its learning algorithms can help better manipulate these patterns.
3 top tools for resizing images
The following are three of the best programs for resizing images without losing quality.
1. Adobe Photoshop
Photoshop has been the industry standard in photo editing software for many years — and for good reason. It offers extensive editing tools, cutting-edge resample algorithms, and an ever-increasing library of AI-assisted tools, like generative fill.
When you resize an image in Photoshop, there are several resampling techniques to choose from. However, the “Automatic” setting is best because it detects the right method based on your image’s content. That saves you the trouble of trying every option — and results in a crisper image.
2. GIMP
GIMP is a free, open-source alternative to Photoshop. It doesn’t offer as many features, but it does a fair job. Since it’s supported by a community-driven effort, it’ll eventually get most of the same features as Photoshop.
The scaling techniques in GIMP are labeled using mathematical terminology that can be tough to interpret. But Sinc(Lanczos3) is considered the best technique, as it uses a ringed pattern that evens out any blurring.
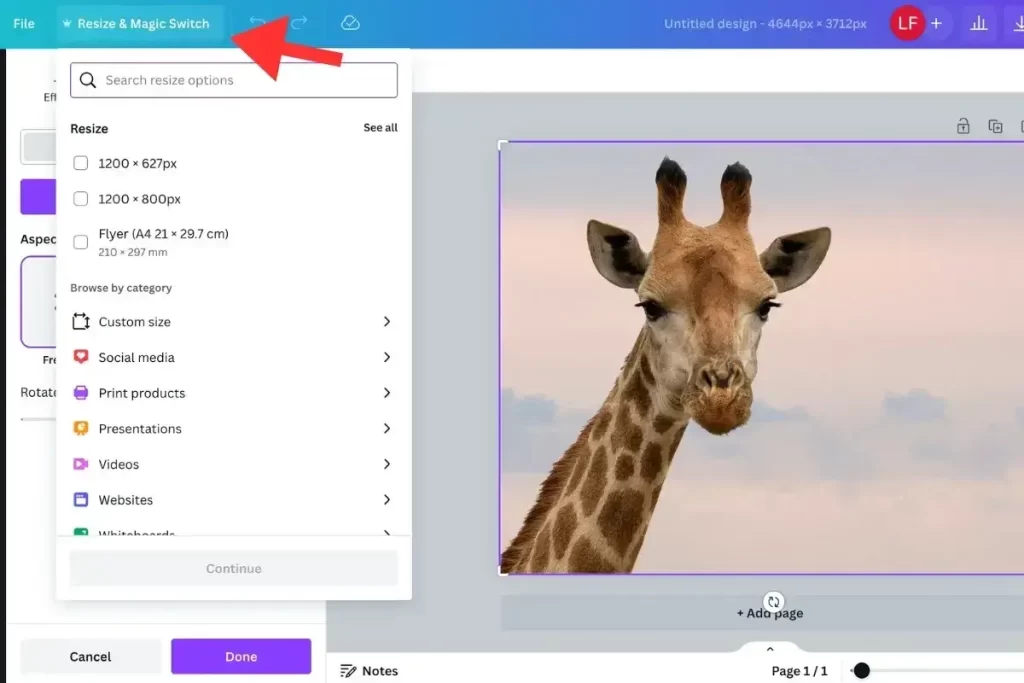
3. Canva
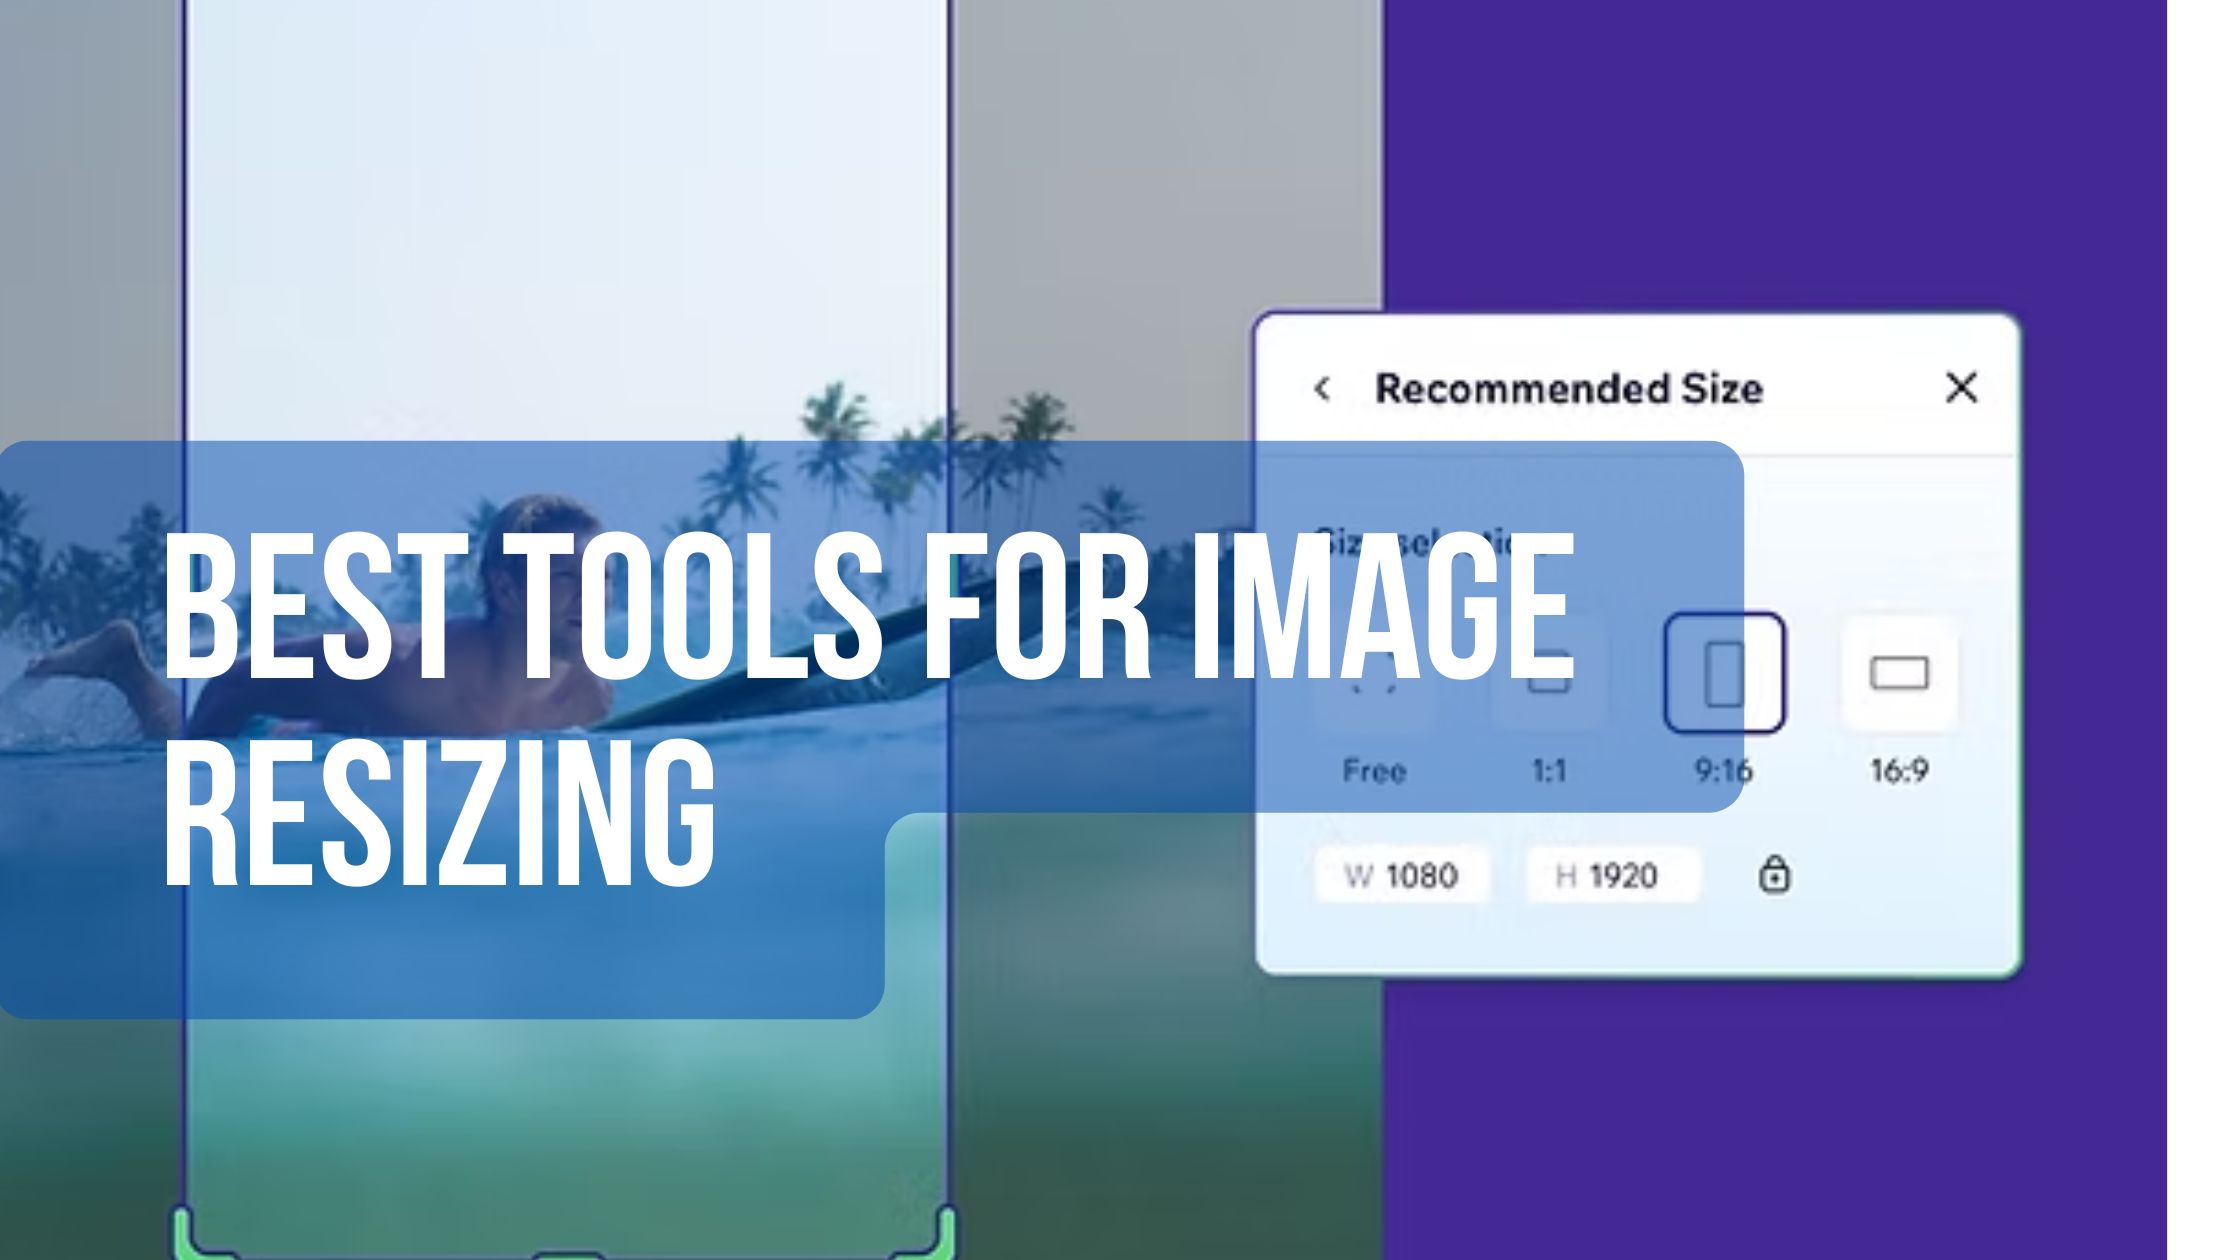
Canva is a web-based option that offers a photo editor and design canvas for digital and print media. It’s easy to use and offers some of the same features as professional image editing software. It doesn’t offer resampling, but with clever cropping and a high-resolution image, you can maintain an acceptable image quality even at large sizes.
Canva offers several suggested sizes for different social media and ad platforms. You can even select several at once to export all the versions you need in one big batch. If that’s your use case, this feature makes the lack of resampling an acceptable trade-off.
Make every pixel count with Webflow
High-quality graphics and fast loading times are important factors in modern web design. As a professional web designer, you must balance these goals to build impactful and high-performing websites.
To strike this balance, leverage a visual web design design tool that allows you to bring your image editing workflow into the platform. With Webflow’s built-in image optimization and global CDN, you can trust that your site’s images will load quickly. Use the image conversion tool to optimize your visual assets, and boost performance on any device using customizable breakpoints, lazy loading, and responsive layouts.